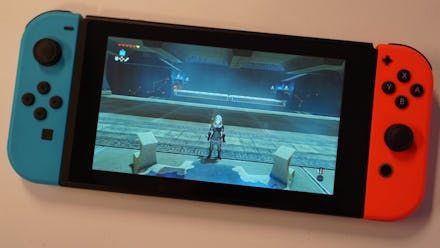
'Zelda: Breath of the Wild' Keo Ruug Shrine Guide: How to solve the puzzle

If you're trying to increase your health and stamina or unlock the Tunic of the Wild in The Legend of Zelda: Breath of the Wild, you'll have to solve the shrines. There are over 100 of them in the game, and they're basically mini-dungeons filled with puzzles. One in particular that's giving players a little trouble is the Keo Ruug Shrine, which has a constellation-counting puzzle. If you're stumped on how to get your hands on that sweet, sweet Spirit Orb, read on for our guide to beating the challenge.
Zelda: Breath of the Wild Keo Ruug shrine guide: Location and how to solve the puzzle
The Keo Ruug shrine isn't hard to find. According to IGN, it's in the Korok forest at the foot of the Great Deku tree. This does mean you'll have to make your way through the Lost Woods in order to find it, but once you get there it should be pretty evident where it is.
Once you're inside, you'll see four rows of concave indents, two on each side of a giant pedestal. Head up to the pedestal in order to read this quote: "Look to the stars for guidance. The constellations are the key."
Although it's not explained well, what you'll notice looking around the room is that at the head of each of the four columns of basins, there's a constellation, and each basin has a number on it noted by the number of torches sitting in front of it.
There are some glowing orange orbs at the bottom of the Trial that you can toss into the basins to make them light up. But before you go throwing them around all willy-nilly, check out the constellations at the head of each row, and then use your Sheikah Slate to zoom in on the mural on the far side of the room. You should recognize the same constellations appearing multiple times.
If you haven't guessed it by now, your job is to count the number of times each constellation appears, then place the glowing orb into the divot that corresponds with that number (marked by the torches) for each one to open the door.
If you'd prefer to solve it on your own, stop reading here. But if you want to get the solution with minimal hassle, read on.
Zelda: Breath of the Wild Keo Ruug shrine solution
The solution to the puzzle is actually pretty easy. For the two constellations on the lefthand side, you'll place a sphere in the slot with five torches and then one in the slot with three torches.
For the right side, you'll want to place an orb in the slot with one torch, and the fourth sphere in the slot with two torches, which will open up the gate and let you access the Monk below.
There's also a second sealed gate as you go down the stairs with more constellations, and solving that puzzle will grant you a Knight's Claymore. To do that puzzle, just place the orbs in the following order from left to right: 4, 2, 2, 1. This will cause the second gate to open and you'll have a shiny new weapon to smite Ganon's minions with.
More Zelda: Breath of the Wild tips, tricks and guides
Find out all there is to know about Zelda: Breath of the Wild, including what to expect from the Wii U version, how to preserve your items, how to beat bosses like the Stone Talus, Lynel, the Guardians and the Hinox, the best recipes for Link and how to take on the game's shrines. You'll also want to find out where all the great fairies in the game, all available stables, how to use amiibo with your version of Zelda and how to increase your health, stamina and weapon slots.